Knowledge of a material’s hardness is indispensable for its proper application. In response to this need, hardness testing methods were developed, particularly over the course of the last century. However, there is no single unit of measurement valid for all materials. The values obtained depend on the testing method used and can only be compared to a limited extent.
Beyond Diamond: What Is the Hardest Material in the World?
The hardest material on Earth is diamond – a fact that is generally well known. Diamond is a form of carbon, a common chemical element, but in its crystalline modification as diamond, it is a rare mineral. It forms under extremely high temperatures and pressure.
There is probably an even harder mineral than conventional diamond: lonsdaleite. This mineral was first discovered in 1961 in the Barringer Crater in Arizona, USA, which was formed about 50,000 years ago by the impact of an iron meteorite. Only trace amounts of this diamond modification, named after the British crystallographer Kathleen Lonsdale (1903–1971), have been secured so far—insufficient for comprehensive crystallographic studies. Calculations suggest that lonsdaleite may be up to 58% harder than ordinary diamond.
Another extremely rare mineral is wurtzite boron nitride, a modification of boron nitride identified in volcanic rocks. Theoretically, it may be up to 18% harder than diamond. For materials research, understanding the formation conditions and structures of lonsdaleite and wurtzite boron nitride is of considerable interest for developing new advanced materials.
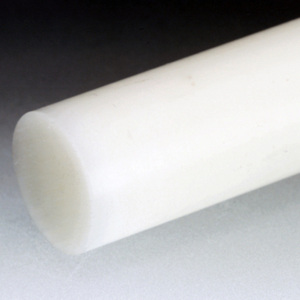
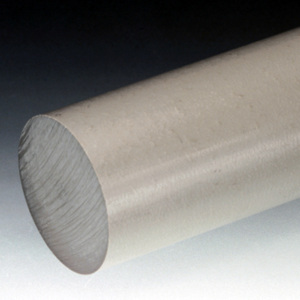
In materials science and technical industries, the results of hardness tests are important material parameters. They enable comparisons of the relative “hard” or “soft” character of steels, polymers, and other alloys, and are included in the technical datasheets of most raw materials. For example, if a very hard plastic semi-finished product such as a rod or a plate is required, technical datasheets will immediately show that polymers such as PEEK (polyether ether ketone) or PVDF (polyvinylidene fluoride) meet this requirement.
The Mohs Scale: The Mineral Hardness Scale
The oldest and most widely known method for determining material hardness comes from mineralogy. As early as 1812, the German mineralogist Carl Friedrich Christian Mohs (1773–1839) introduced the first hardness scale for minerals.
The Mohs hardness scale is based on a simple principle: harder substances scratch softer ones. Following this observation, Mohs created a ten-step, dimensionless scale for the scratch resistance of familiar minerals, which allows the hardness of different minerals to be compared.
| Mohs Hardness | Reference Material | Notes |
| 1 | Talc | Can be scraped with a fingernail |
| 2 | Gypsum | Can be scratched with a fingernail |
| 3 | Calcite | Can be scratched with a fingernail |
| 4 | Fluorite | Easily scratched with a knife |
| 5 | Apatite | Easily scratched with a knife |
| 6 | Feldspar | Can be scratched with a steel file |
| 7 | Quartz | Scratches window glass |
| 8 | Topaz | |
| 9 | Corundum | |
| 10 | Diamond |
Diamond, as the hardest mineral, was assigned the value of 10; talc, a magnesium silicate and the softest mineral, was assigned a hardness of 1. The Mohs scale is still used in mineralogy today. For materials testing, however, other, more precise methods tailored to the specific material are employed.
Modern Hardness Testing: Static vs. Dynamic Methods
In general, hardness testing methods are divided into dynamic and static procedures.
In dynamic testing, the sample is subjected to an impact load. Hardness is determined either by the indentation depth of an indenter in the material or from its rebound height when dropped onto the sample under defined conditions.
In static testing, the indenter applies a steady, non-impact load to the material. Hardness is determined either from the penetration depth of the indenter or by measuring the indentation left in the material.
Not all testing methods are equally suitable for every material, so hardness values are valid only for the respective test method.
Rockwell Hardness: The Method for Hard Materials and Metals
The Rockwell hardness test is a static method used primarily for very hard materials but also suitable for softer ones. It was developed by the American metallurgists Stanley P. Rockwell (1886–1940) and Hugh M. Rockwell (1890–1957).
Indenters are either conical diamond tips or hard metal balls. For this measurement, the indenter is first pressed into the material with a minor load (“preload” F0). The load is then increased to a defined “major load” (F1), pressing the indenter deeper. The difference between the two indentation depths determines the Rockwell hardness (HR).
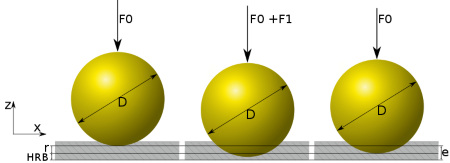
Rockwell values are listed in alphabetically ordered scales A through D, depending on the test conditions, loads, and indenter type. For example, blades of Japanese kitchen knives made of tungsten-containing Aogami steel achieve a Rockwell hardness of HRC 67, while ordinary household knives typically reach only about HRC 55.
Brinell Hardness Test: The Alternative for Uneven Surfaces
The Brinell test is another static method, introduced by Swedish engineer Johan August Brinell (1849–1925) at the 1900 Paris World’s Fair. It covers a wide hardness range and is especially suitable for materials with coarse or uneven surfaces, as it is less sensitive to surface irregularities than the Rockwell method. It is also the standard method in forestry for determining wood hardness.
In the Brinell test, a hard metal ball is pressed vertically into the specimen, leaving an indentation whose area is measured microscopically. Brinell hardness (HB) is calculated from the applied load and the indentation area. Domestic woods reach Brinell hardness values up to HB 4, tropical woods up to HB 6, while chromium-nickel steels reach values around HB 200.
Vickers Hardness Test: Optical Method with Diamond Pyramid
The Vickers test was developed by English foundryman Edward Vickers (1804–1897). Unlike the Brinell method, Vickers hardness (HV) can also be used for very hard materials such as ceramics and hard metals.
Like Brinell testing, hardness is determined by measuring the indentation left in the material. The key difference is the use of a pyramid-shaped diamond indenter, which is suitable for the entire hardness range, rather than hard metal balls of varying sizes.
Vickers hardness for standard steels ranges from HV 350 to HV 380, while fine gold—considered particularly soft—typically measures below HV 70.
Shore Hardness: Measuring Plastics
The static Shore hardness test was introduced in 1915 by American engineer Albert Ferdinand Shore (1876–1936) for testing plastics. It measures the indentation depth of a standardized steel pin pressed into the material under defined load and time.
For soft plastics, the pin tapers to a cone; for hard plastics such as PE (polyethylene), it has a pointed tip. Measured values are reported as Shore hardness (HS), with the letter A for soft plastics and D for hard plastics.
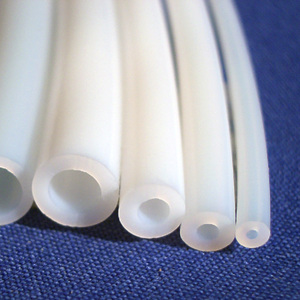
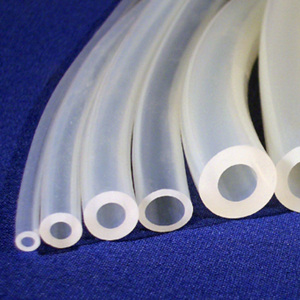
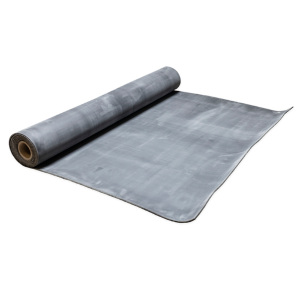
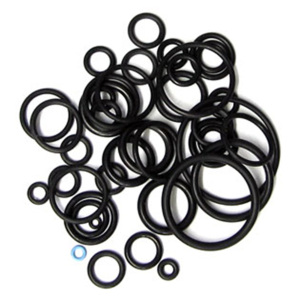
Typical values for soft, rubber-elastic plastics such as synthetic rubbers range between Shore A 50–70. Such polymers are used to produce rubber mats and seals. Hard plastics such as PE (polyethylene), PP (polypropylene), and PC (polycarbonate) typically reach up to Shore D 80 and are used for rigid plastic tubes, tube & hose connectors, and other molded parts.
Leeb Hardness: An Almost Universal Testing Method
In 1978, German materials scientist Dietmar Leeb introduced a dynamic hardness testing method particularly suitable for mobile applications. This method, named after him, measures the difference between the launch velocity of a standardized indenter and its reduced rebound velocity after striking the test material. The difference is due to the elastic deformation of the material. Because launch velocity and indenter size can be varied, the method is nearly universal. The measured Leeb hardness (HL) can be approximately converted into conventional hardness scales such as Rockwell (HR), Brinell (HB), Vickers (HV), and Shore (HS).
Heat and Other Factors Can Affect Hardness
The hardness of a material is not a fixed property. Environmental influences such as temperature, humidity, and exposure to radiation can affect hardness. A simple example is asphalt pavement softening during prolonged summer heat. Elevated temperatures reduce the hardness of road surfaces, leading to damage and increased accident risk.
For this reason, all hardness tests are carried out according to strict standards, now binding as EU norms. Certified testing devices ensure reliable results not only in laboratories but also under industrial conditions. Only then can these values serve as reliable parameters for the intended use of a material.
Image sources:
Feature image | © Surasak – stock.adobe.com
Rockwell hardness testing | © Djhé, CC BY-SA 3.0 https://creativecommons.org/licenses/by-sa/3.0, via Wikimedia Commons
 Reichelt Chemietechnik Magazine

